No Knead Dutch Oven Bread
No Knead Dutch Oven Bread
Mastering the No-Knead Technique
The no-knead method of bread making is a game-changer, especially for beginners. The technique relies on time and minimal effort to develop gluten, which gives the bread its structure and airy texture. By allowing the dough to rest for 12 to 18 hours, it ferments and enhances the flavor profile. This long fermentation period is crucial; it not only creates bubbles for a chewy crumb but also contributes to a complex, slightly sour taste reminiscent of artisanal sourdough.
One of the most important tips I can share is to maintain a precise dough hydration level. A wetter dough, typically around 75% hydration, will lead to a more open crumb with larger holes. This means the dough will be sticky and challenging to handle, but that's perfectly normal. Use a bench scraper to manipulate the dough gently, and don't be tempted to add more flour—it’ll disrupt the final texture!
Choosing Your Ingredients Wisely
The beauty of this recipe lies not only in its simplicity but also in its adaptability. While all-purpose flour is standard, you can experiment with different types such as bread flour or even whole wheat for a richer flavor and increased nutrition. Keep in mind that whole wheat flour absorbs more water, so you might need to adjust the hydration slightly for optimal dough consistency.
Using quality ingredients enhances the final product significantly. Opt for sea salt or kosher salt, as they dissolve better and impart a cleaner flavor compared to regular table salt. Additionally, using freshly active yeast will ensure that the dough rises efficiently. I recommend checking the expiration date on your yeast to avoid any flat loaves due to inactive yeast.
Perfecting the Dutch Oven Bake
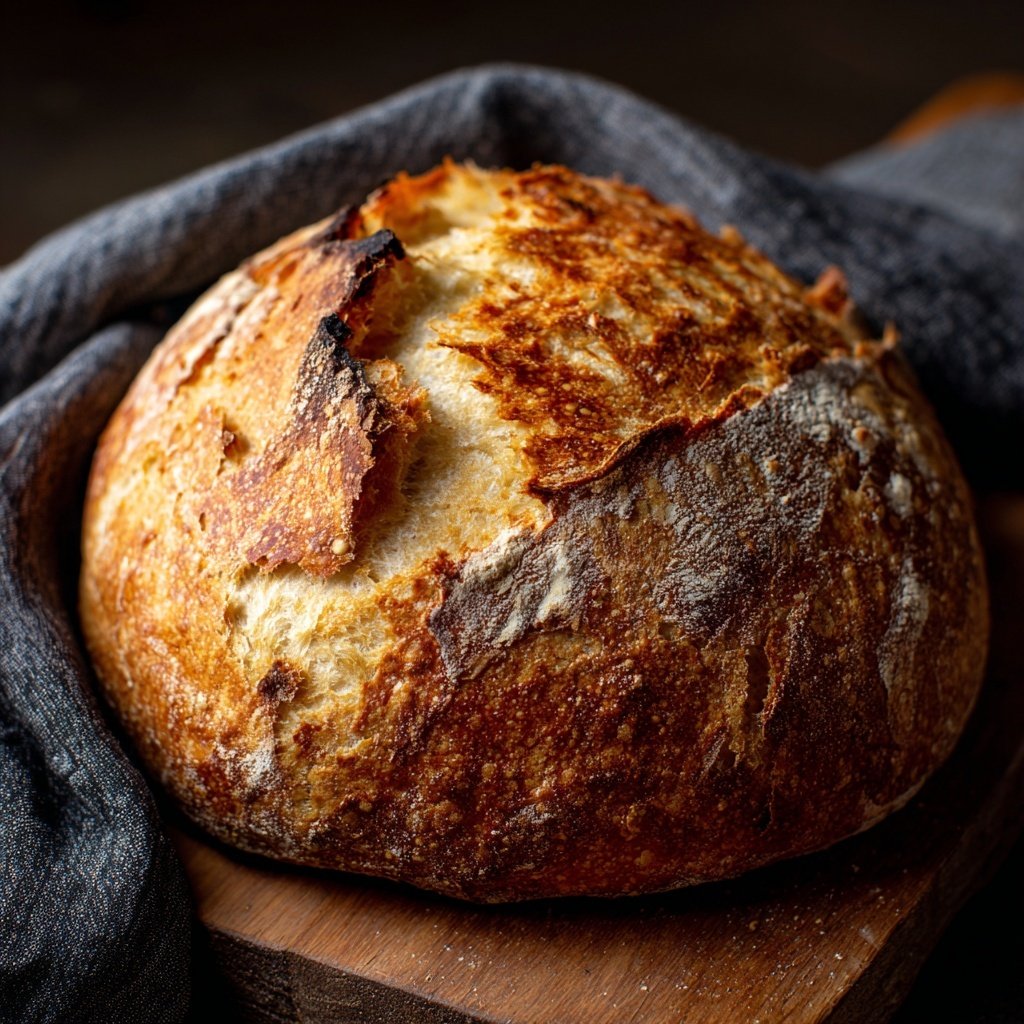
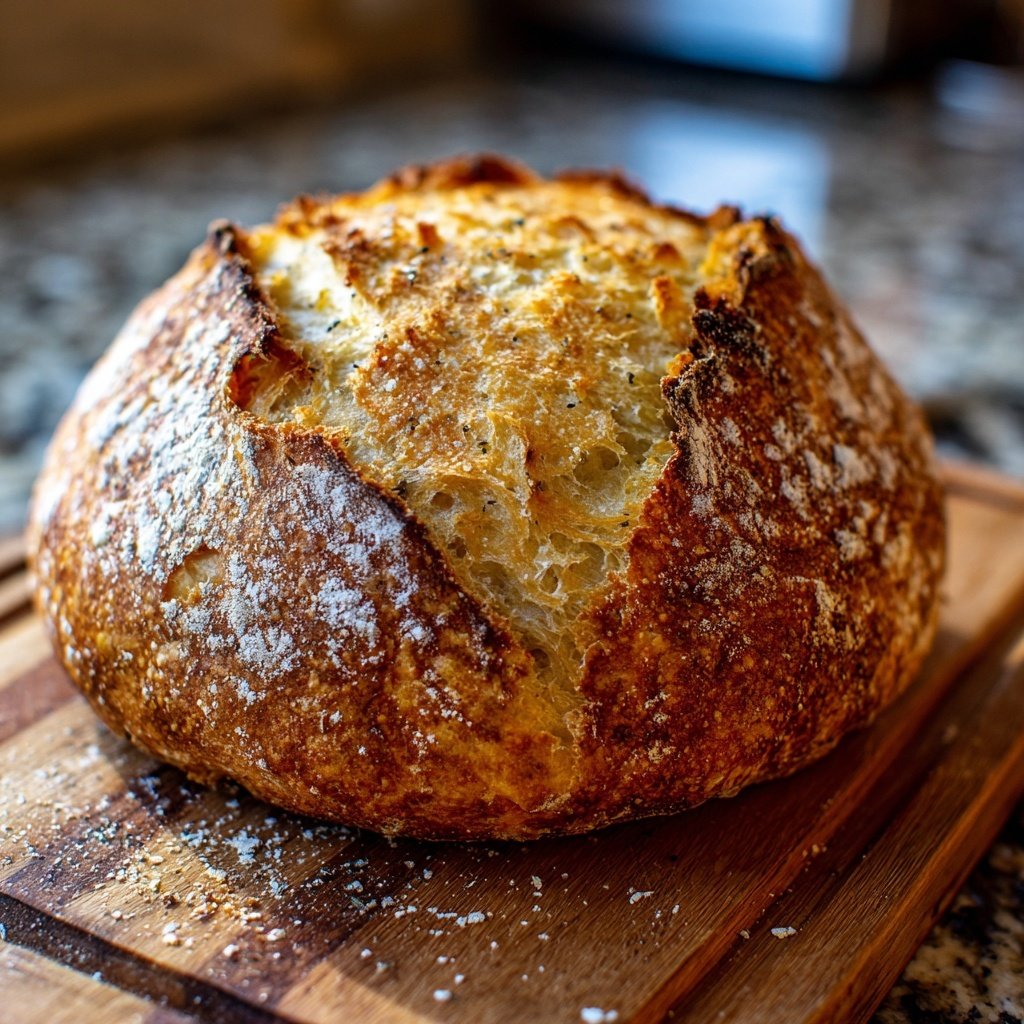
Baking in a Dutch oven replicates a professional steam oven by trapping moisture. This is crucial for achieving that golden, crusty exterior we all crave. Preheat your Dutch oven for at least 30 minutes before adding in the dough; this ensures a quick oven spring and helps the crust develop beautifully. The steam created from the dough's moisture as it bakes will keep the bread crust soft for longer, allowing it to rise before forming a crust.
After about 30 minutes of covered baking, remove the lid to let the bread brown evenly. Keep a close eye on it, as ovens vary; aim for a deep golden crust. If the bread isn't browning to your liking, you can finish it off under the broiler for a couple of minutes—just watch it carefully to prevent burning!
Storing and Reheating
Once your bread has cooled completely, it’s best stored in a paper bag or wrapped in a kitchen towel to maintain its crusty exterior. Avoid plastic bags as they trap moisture and can make the crust soggy. Properly stored, your bread can last for up to three days at room temperature, but you can also freeze it if you’d like it to last longer.
To freeze, slice the bread and wrap each slice in plastic wrap, then place them in a resealable freezer bag. When ready to enjoy, remove a slice and let it thaw at room temperature or pop it straight in the toaster for a quick warm-up. This method allows you to enjoy freshly toasted bread anytime!
Serving Suggestions
This no-knead bread is incredibly versatile. Serve it sliced with a selection of cheeses or use it as the base for a delicious bruschetta topped with tomatoes, basil, and a drizzle of balsamic glaze. It also pairs beautifully with soups and stews, soaking up rich broth and enhancing your meal's overall flavor.
For a more indulgent treat, try toasting slices and spreading them with garlic butter or herbs; broil until golden for a delightful appetizer. Whether it's a simple breakfast with butter and jam or part of an elaborate dinner spread, this bread can elevate any meal.
Variations to Try
Feel free to add your favorite mix-ins to this dough to elevate its flavor profile even further. Chopped olives, sun-dried tomatoes, or fresh herbs can be folded into the dough during the first rise. If you're feeling adventurous, a handful of cheese—like shredded cheddar or feta—adds a delightful tang.
You can also experiment with different types of liquids; try substituting some of the water with beer or milk for varied flavors. Each modification will yield a unique loaf, so don't hesitate to get creative while keeping the core recipe intact!