Homemade Peanut Butter Cups with Coconut Oil
Highlighted under: Cozy Ideas
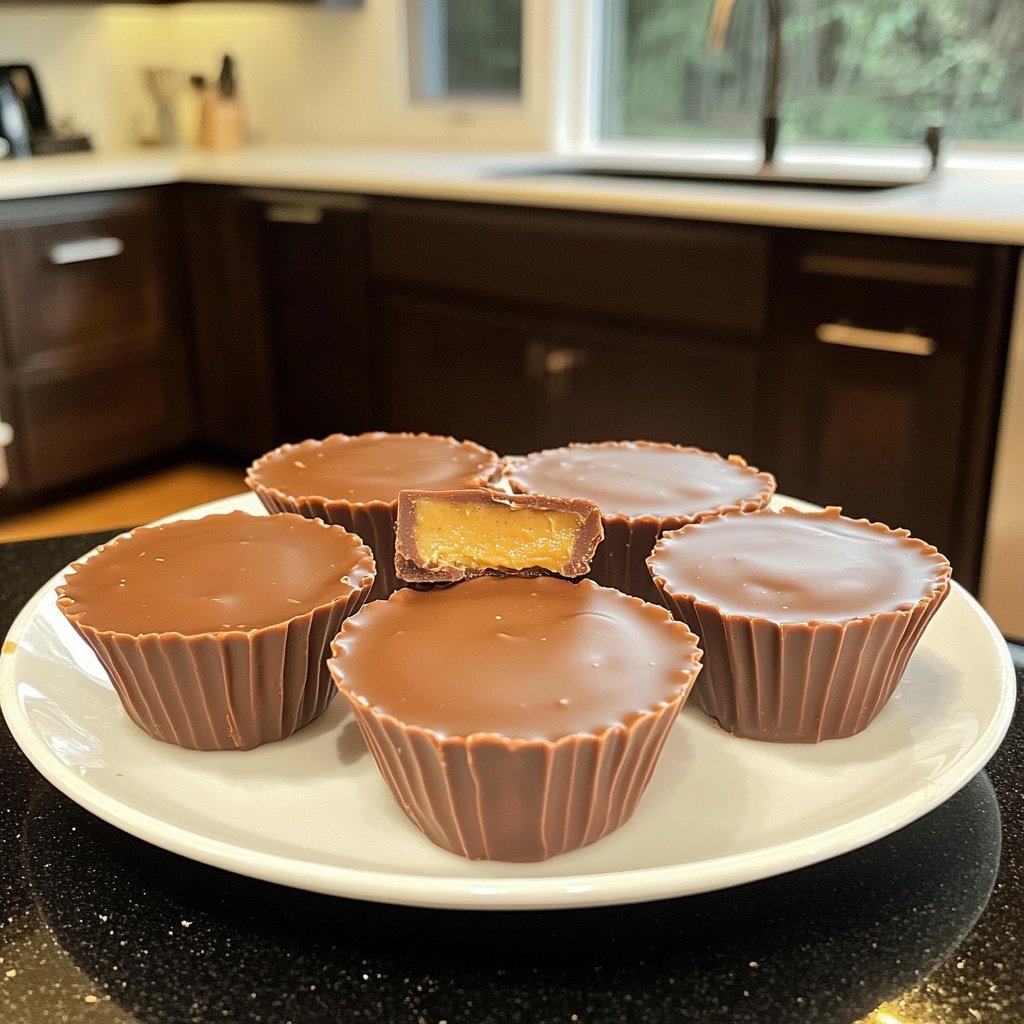
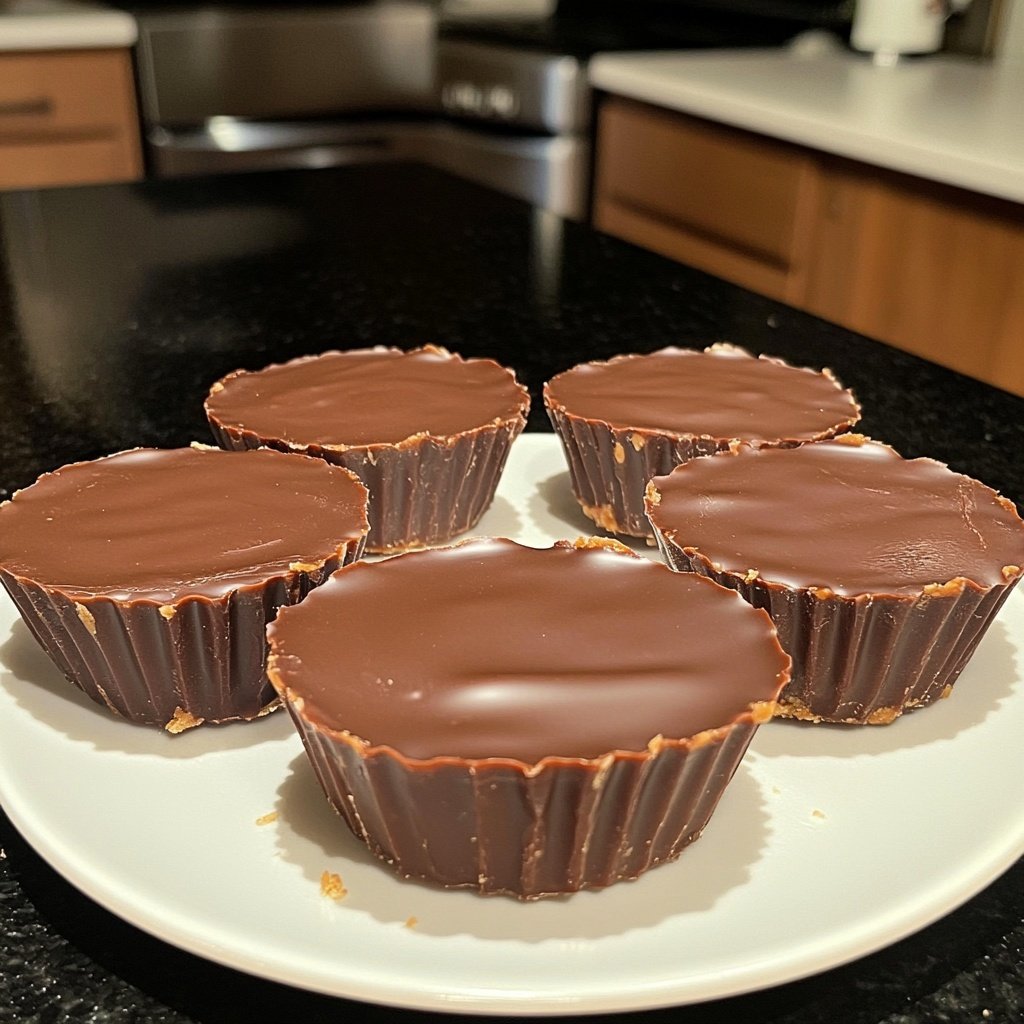
I absolutely love making my own peanut butter cups at home, especially with the addition of coconut oil! This recipe has become a favorite in my kitchen because it showcases a perfect balance of creamy peanut butter and rich chocolate, all while being so easy to whip up. The coconut oil enhances the flavor and gives the cups that satisfying melt-in-your-mouth texture. Just imagine biting into one of these indulgent treats, made with wholesome ingredients that you can feel good about. Trust me, once you try these, you’ll never go back to store-bought!
When I first tried making these Homemade Peanut Butter Cups, I was amazed at how simple the process was. I experimented with adding coconut oil, which not only improved the flavor but also helped the chocolate to set perfectly without cracking. Using high-quality chocolate definitely elevates the taste, and I recommend a mix of dark and milk chocolate for a balanced sweetness.
One tip I found essential during my trials is to let the cups cool completely in the fridge. This ensures that they hold their shape and are easy to pop out of the molds. Plus, the waiting only adds to the anticipation of enjoying these delicious treats!
Reasons You'll Love These Cups
- Creamy peanut butter filling that's simply irresistible
- Delightfully rich chocolate coating, melted to perfection
- Wholesome ingredients make them guilt-free indulgence
- Easy-to-make, perfect for sharing or enjoying alone
The Importance of Quality Ingredients
In this recipe, the quality of your chocolate and peanut butter makes a significant difference in flavor. I recommend using high-quality dark chocolate chips with at least 70% cocoa for depth and richness. The contrast of the darker chocolate against the creamy peanut butter creates a satisfying balance. Try to avoid brands that use artificial flavors or fillers, as they can detract from the overall taste experience.
Coconut oil plays a crucial role in both flavor and texture. It not only helps achieve that melt-in-your-mouth consistency when paired with chocolate, but it also introduces a subtle tropical note that enhances the peanut butter's creaminess. If you need a substitute due to dietary restrictions or preferences, you can use avocado oil or refined cocoa butter, but be aware that the flavor profile will slightly change.
Tips for Perfectly Layered Peanut Butter Cups
When creating the bottom chocolate layer, aim for a uniform thickness to ensure even melting and flavor distribution. Spoon just enough melted chocolate to cover the bottom of each mold—typically 1-2 tablespoons should suffice. If you notice any bubbles forming, gently tap the muffin tin on the countertop to release them before placing it in the freezer. This will help achieve a smooth, professional look once the cups are finished.
While adding the peanut butter layer, ensure that the mixture is smooth and well-combined. If it's too thick, you can warm it slightly in the microwave (10-15 seconds) just until it becomes easier to scoop. Be generous with the peanut butter layer; it should fill about half the height of the molds, allowing for a perfect ratio of chocolate to filling when you take that first bite.
Storing and Serving Suggestions
To store your homemade peanut butter cups, keep them in an airtight container in the refrigerator for up to two weeks. They can also be frozen for longer storage; just layer them with parchment paper and place them in a freezer-safe bag. When you're ready to enjoy, let them thaw for about 10 minutes at room temperature for that delightful soft texture—perfect for snacking anytime.
These peanut butter cups are versatile enough to be used in various dessert applications. Crumble them over ice cream or blend them into a smoothie for extra flavor. You can even experiment with fillings by adding crushed nuts or a sprinkle of sea salt on top before the final chocolate layer for added crunch and flavor contrast.
Ingredients
Peanut Butter Cups
- 1 cup creamy peanut butter
- 1/4 cup coconut oil
- 1 cup dark chocolate chips
- 1/2 cup milk chocolate chips
- 1 tablespoon honey (optional)
- 1/4 teaspoon sea salt
Feel free to mix and match different types of chocolate for unique flavors!
Instructions
Prepare the Molds
Line a muffin tin with cupcake liners or use silicone molds for easy removal. Set aside.
Melt the Chocolate
In a microwave-safe bowl, combine the dark and milk chocolate chips with half of the coconut oil. Microwave in 30-second intervals, stirring after each, until completely melted and smooth.
Create the Bottom Layer
Spoon a small amount of the melted chocolate into each mold, just enough to cover the bottom. Place the molds in the freezer for about 10 minutes to set.
Prepare the Filling
In a separate bowl, mix together the peanut butter, remaining coconut oil, honey (if using), and sea salt until smooth.
Add the Filling
Remove the molds from the freezer and add a generous spoonful of the peanut butter mixture on top of the set chocolate layer.
Top with Chocolate
Pour the remaining melted chocolate over the peanut butter filling, ensuring it completely covers the filling. Smooth the tops as needed.
Final Set
Return the molds to the freezer to set for at least 15-20 minutes until completely firm.
Serve and Enjoy
Once set, remove the cups from the molds and enjoy immediately or store in an airtight container in the fridge.
These cups are perfect for satisfying your sweet tooth without any of the guilt!
Pro Tips
- Experiment with different nut butters or add crushed nuts for a delicious crunch.
Troubleshooting Common Issues
If your chocolate layers aren't setting properly, ensure that you're using the right ratios of chocolate to coconut oil. Adding too much coconut oil can prevent the chocolate from firming up. Keep the melted mixture to about a 2:1 ratio of chocolate to oil for best results. Additionally, make sure the molds are properly chilled before adding layers; if the chocolate layer is warm, it won't solidify correctly.
Another common issue is the filling becoming too runny or difficult to work with. If this happens, let the mixture cool slightly before adding it to the molds. I find that peanut butter mixed with coconut oil needs just the right amount of firmness to scoop and layer without oozing out.
Flavor Variations to Try
For an added flavor twist, consider incorporating spices like cinnamon or a touch of vanilla extract into the peanut butter filling. This can elevate your cups and give them a unique taste that stands out from traditional recipes. Just start with a small amount—about 1/4 teaspoon—to avoid overpowering the peanut butter's natural flavor.
You can also experiment with different types of chocolate. For a sweeter treat, try using all milk chocolate for the outer layer, or for a more decadent flavor, consider adding a drizzle of white chocolate on top after the cups have set. These variations provide opportunities to customize your cups to fit your personal taste preferences.
Scaling the Recipe
If you're looking to make a larger batch for parties or gatherings, this recipe is easily scalable. Just multiply the ingredient amounts by the number of servings you need and use larger molds or multiple muffin tins. Ensure that you have enough freezer space, as chilling is crucial for setting the layers correctly.
On the flip side, if you're only looking for a small treat, you can halve the ingredients and use mini muffin tins for bite-sized portions. This provides a great opportunity to taste without overindulging, making them a perfect guilt-free snack option for those watching their portions.
Questions About Recipes
→ Can I use natural peanut butter?
Yes, natural peanut butter works well, but make sure to stir it well to incorporate the oil.
→ How can I store them?
Store in an airtight container in the refrigerator for up to one week.
→ Can I make these vegan?
Absolutely! Just use dark chocolate that is dairy-free and watch for additives in the peanut butter.
→ What if I don't have coconut oil?
You can use butter or any neutral oil, but coconut oil adds a nice flavor and texture.
Homemade Peanut Butter Cups with Coconut Oil
What You'll Need
Peanut Butter Cups
- 1 cup creamy peanut butter
- 1/4 cup coconut oil
- 1 cup dark chocolate chips
- 1/2 cup milk chocolate chips
- 1 tablespoon honey (optional)
- 1/4 teaspoon sea salt
How-To Steps
Line a muffin tin with cupcake liners or use silicone molds for easy removal. Set aside.
In a microwave-safe bowl, combine the dark and milk chocolate chips with half of the coconut oil. Microwave in 30-second intervals, stirring after each, until completely melted and smooth.
Spoon a small amount of the melted chocolate into each mold, just enough to cover the bottom. Place the molds in the freezer for about 10 minutes to set.
In a separate bowl, mix together the peanut butter, remaining coconut oil, honey (if using), and sea salt until smooth.
Remove the molds from the freezer and add a generous spoonful of the peanut butter mixture on top of the set chocolate layer.
Pour the remaining melted chocolate over the peanut butter filling, ensuring it completely covers the filling. Smooth the tops as needed.
Return the molds to the freezer to set for at least 15-20 minutes until completely firm.
Once set, remove the cups from the molds and enjoy immediately or store in an airtight container in the fridge.
Extra Tips
- Experiment with different nut butters or add crushed nuts for a delicious crunch.
Nutritional Breakdown (Per Serving)
- Calories: 210 kcal
- Total Fat: 15g
- Saturated Fat: 8g
- Cholesterol: 0mg
- Sodium: 60mg
- Total Carbohydrates: 18g
- Dietary Fiber: 1g
- Sugars: 6g
- Protein: 4g